Getting Started #
If you need to move a batch of records to a different month in Vista, you can use TAD to transfer them efficiently. Start by downloading a Batches template to isolate the specific records. Next, obtain a new batch number and import the records into the correct month. Once the new batch is created, you can clear the old batch and proceed with posting the updated batch.
Summary Steps #
- Downloading the Batch Records – Download the batch records to access the data that needs the month change.
- Updating the Batch Month – Modify the month field in the batch records to reflect the new batch month.
- Retrieving Next Batch # – Retrieve and assign the next batch number to ensure proper sequencing.
- Validating the Import – Check the updated records to ensure the changes are accurate and meet the import criteria.
- Executing the Import – Run the import process to apply the changes and update the system with the new batch month.
Change Batch Month #
Downloading the Batch Records
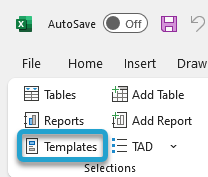
Click the Templates button on the left side of the ribbon.
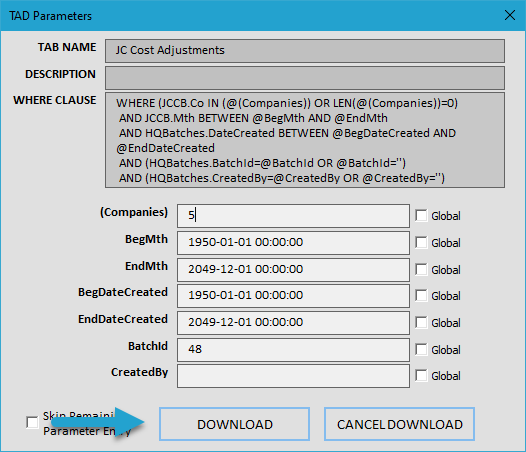
Find the Batches templates containing your records.
Click the Download Selected button.

You can press F4 in the BatchId parameter to select your specific batch, or leave it empty to download all open batches.
Click the Download button.
Updating the Batch Month
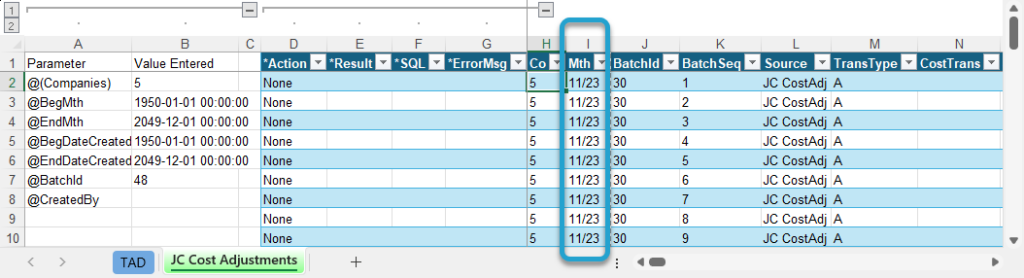
The open batch records will be displayed in the original month.
New Batch Records
New batch records are identified when the TransType/BatchTransType value is A – Add.
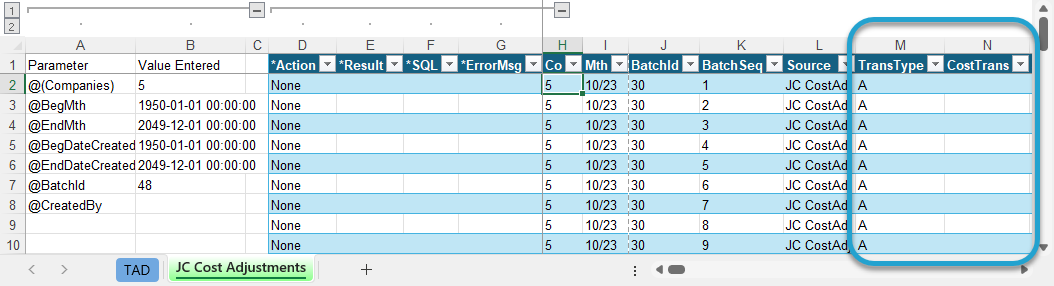
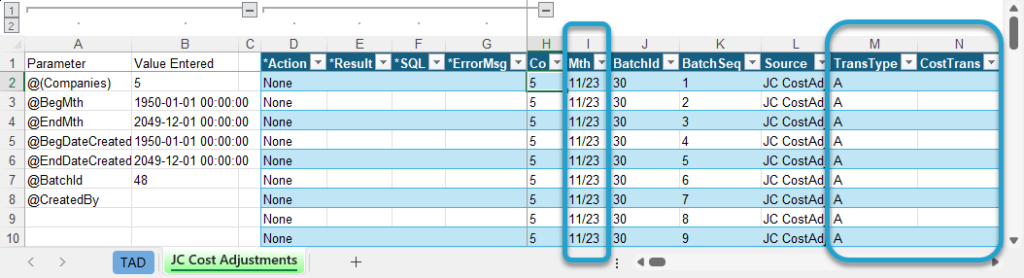
Simply update the Mth value to the correct month.
Already Posted Batch Records
Already posted batch records are identified when the TransType/BatchTransType value is C – Change or D – Delete.
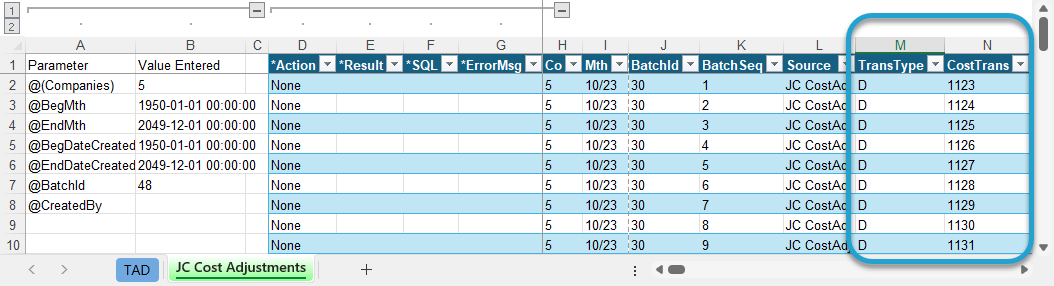
Update the Mth to the correct month, change TransType to A, and remove the CostTrans value.
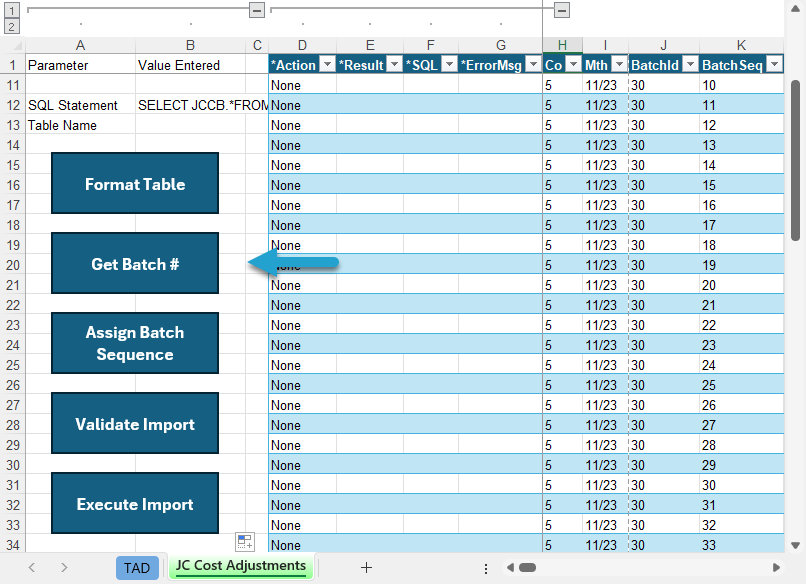
Retrieving Next Batch #
With these changes applied, you can now click the Get Batch # button to assign a new batch to all records.
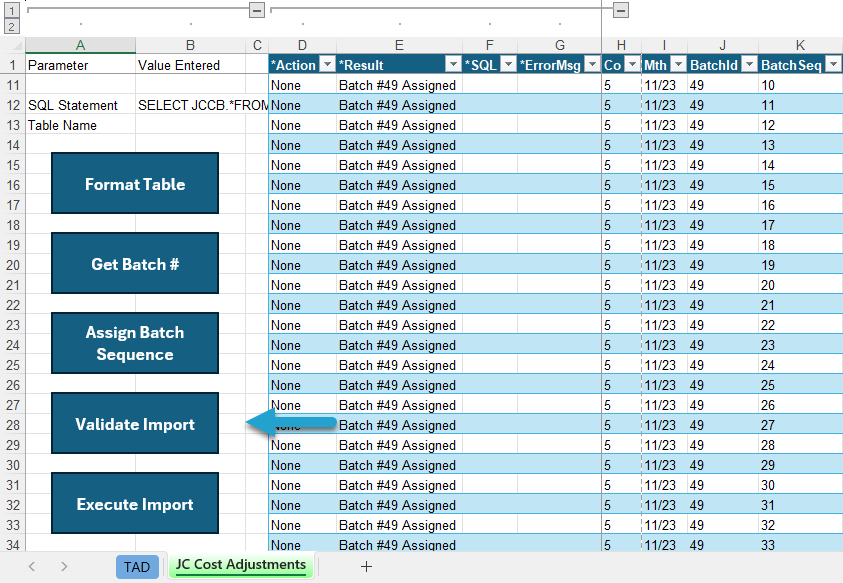
Validating the Import
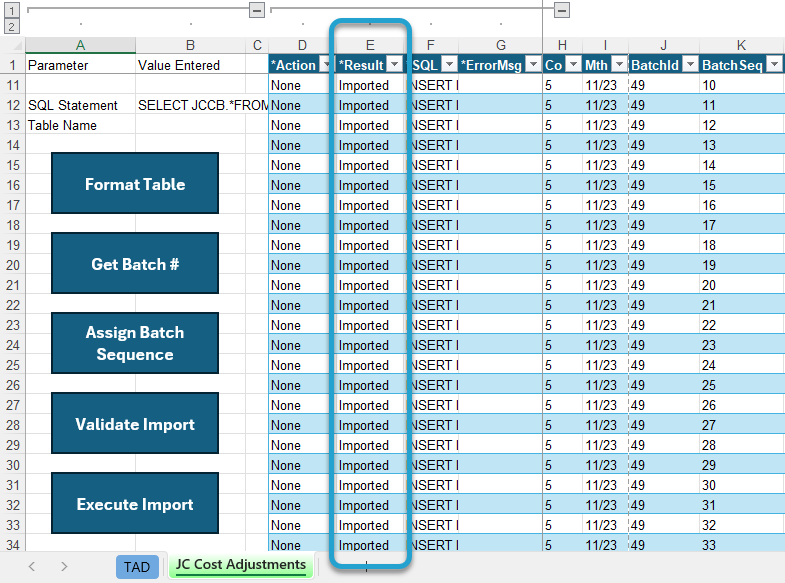
The *Result column will be updated with a message similar to the one shown below.
Next, click the Validate Import button.
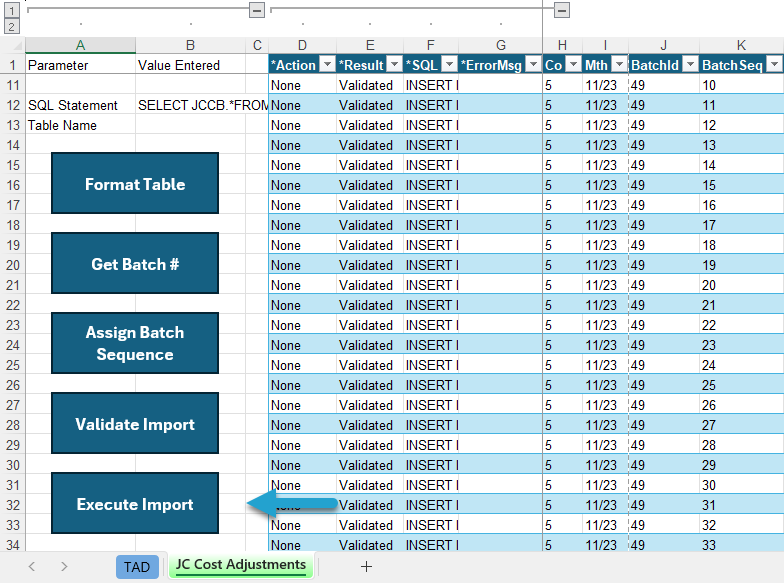
Executing the Import
The *Result column will be updated with a message similar to the one shown below.
Next, click the Execute Import button.
The *Result column will be updated with a message similar to the one shown below.
The records have now been imported, and you can open the new batch in Vista.
- If your original records were New Batch Records, be sure to clear the original batches.
- If your original records were Already Posted Batch Records and marked as D – Delete, you can post those batches to remove them from the incorrect month.