Getting Started #
This template contains all setup tables and master files, including:
- Vendors / Customers / Firms
- Equipment
- Contracts / Jobs / Project Managers
- Employees / Resources
- Technicians / Service Sites
Template Info #
- Required Source Data
- You must add the new Company to HQ Company Setup.
- Additional Tips
- Users do not need to be out of the system during this process as nothing is being disabled on the server.
- Basic Steps
- Adjust TAD License Options
- Download TAD Template
- Delete Empty Worksheets
- Download All Records
- Import the Records
Adjust TAD License Options #
Before starting the company copy, it’s important to adjust certain TAD License options to ensure a smoother and faster process.
These settings help avoid unnecessary prompts and allow the copy process to run uninterrupted.
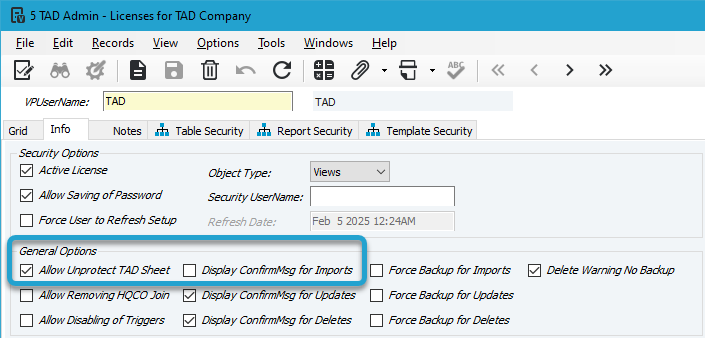
In Vista, go to User Database → Programs → TAD Admin – Licenses
Find the account of the user who will be performing the company copy. Then, review and update the following license options:
- Allow Unprotect TAD Sheet
- Check this box
- This allows you to adjust the TAD worksheet directly so you can import specific groups of Tables instead of all at once.
- Display ConfirmMsg for Imports
- Uncheck this box
- This prevents confirmation messages from appearing for every Table that you import.
Download TAD Template #
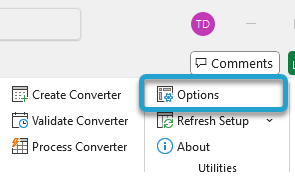
Start with a blank Excel workbook, then click the Options button located on the right side of the ribbon.
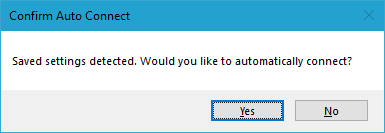
If you’ve signed into TAD before, then you should receive the message below. Click Yes.
If you have not signed into TAD before, follow the Get Connected instructions.
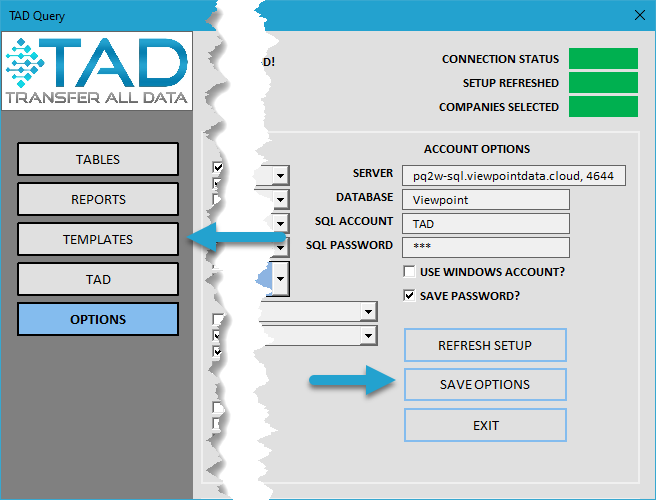
Make the following changes to the available options:
- Option Profile
Select the Company Copy profile. This will automatically toggle the appropriate options on the form. - Source Company
Select the company you want to copy from. - Destination Company
Select the company you want to copy to.
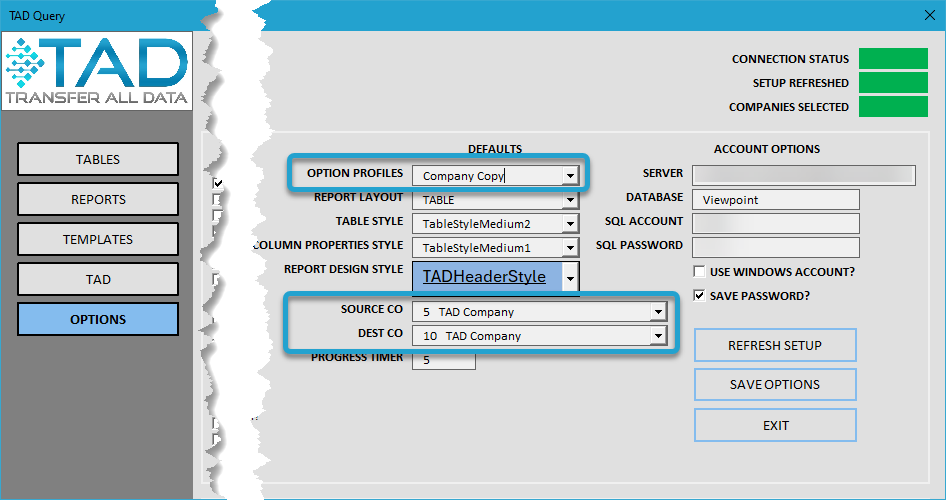
Click the Save Options button.
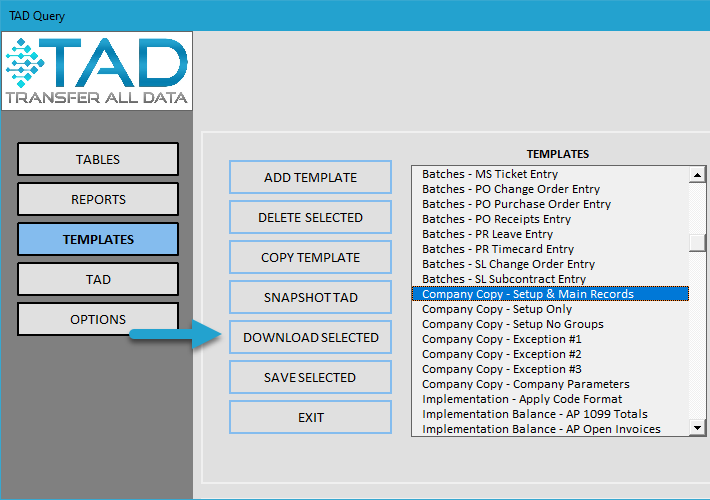
Then click the Templates button on the left side of the form.
Find and select the Company Copy – Setup & Main Records template.
Click Download Selected Template.
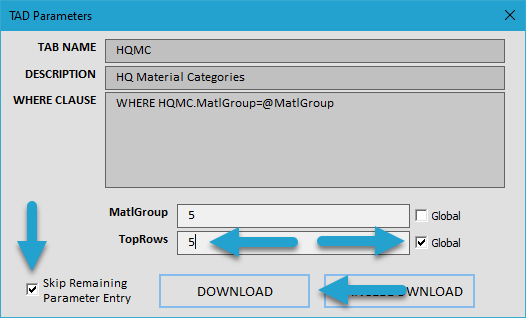
The Company Copy templates include a TopRows parameter, which allows users to retrieve a limited number of setup records, all records, or none at all. Downloading a smaller dataset helps quickly identify which tables contain data, making it easier to remove empty ones.
- Enter a small number in the TopRows parameter.
- Check the Global checkbox next to the parameter.
- Check the Skip Remaining Parameter Entry checkbox.
- Click the Download button.
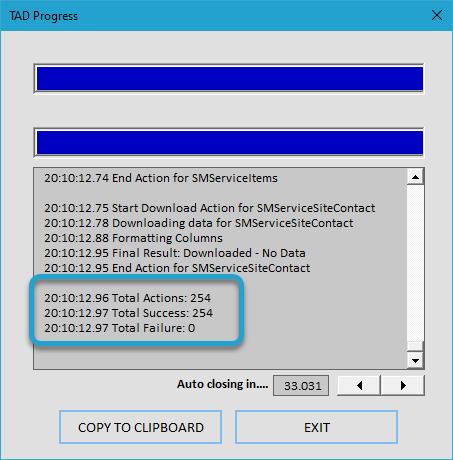
The process will begin downloading every table included in the selected template.
Delete Empty Worksheets #
When the process completes, your workbook will contain one worksheet per table. Some worksheets may be empty if those tables aren’t used in your current Vista setup. The steps below will help you remove these empty worksheets to clean up the workbook. This step is optional and can be skipped if you don’t mind the extra worksheets.
- Go to the TAD worksheet and filter Column K (Action Result) for Downloaded – No Data.
- Highlight all the filtered rows, right-click, and choose Delete.
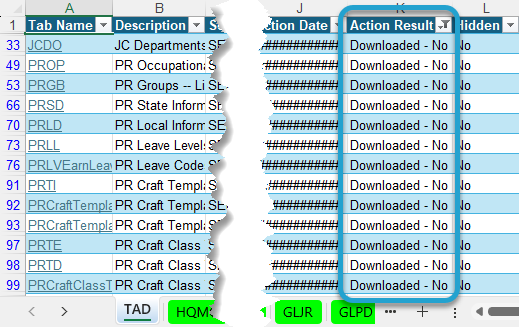
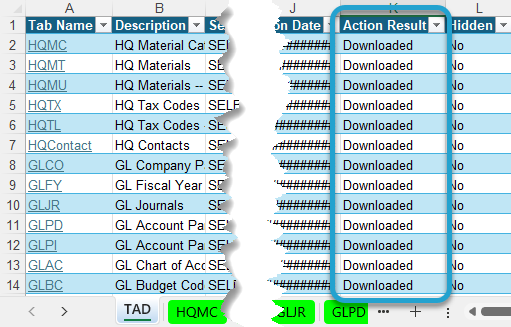
You can then clear the filter, and the remaining records are the tables that contain data.
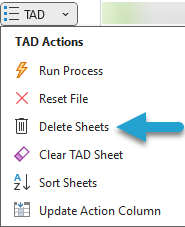
Click the submenu of the TAD button on the ribbon and choose the Delete Sheets button. This will delete all worksheets that only contain the small number of records.
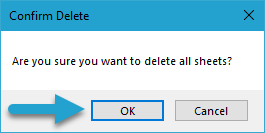
Click the OK button to confirm the deletion.
Download All Records #
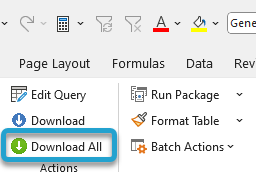
With all sheets deleted, click the Download All button on the left side of the ribbon.
If you did not complete the Delete Empty Worksheets step, then clear the TopRows parameter and check the Global checkbox.
Otherwise, leave the TopRows parameter empty to download all records.
Check the Skip Remaining Parameter Entry checkbox.
Click the Download button.
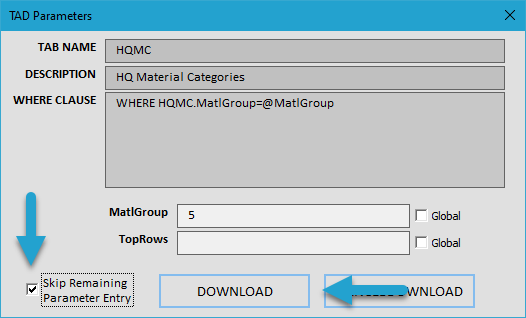
The process will begin downloading every table included in the template.
When the process finishes, you will once again have one worksheet per table.
Import the Records #
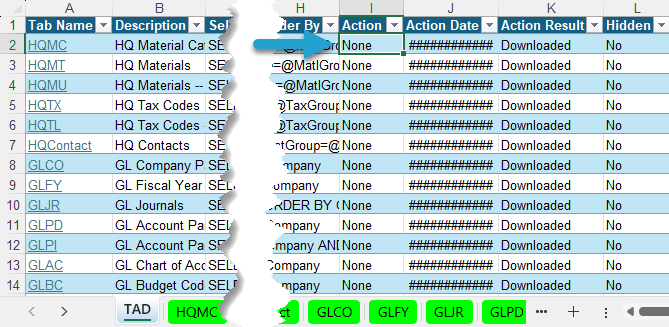
Go to the TAD worksheet and locate the first record.
Click in Cell I2 and press the F4 key.
Select the Execute Import option and click the Apply & Save button.
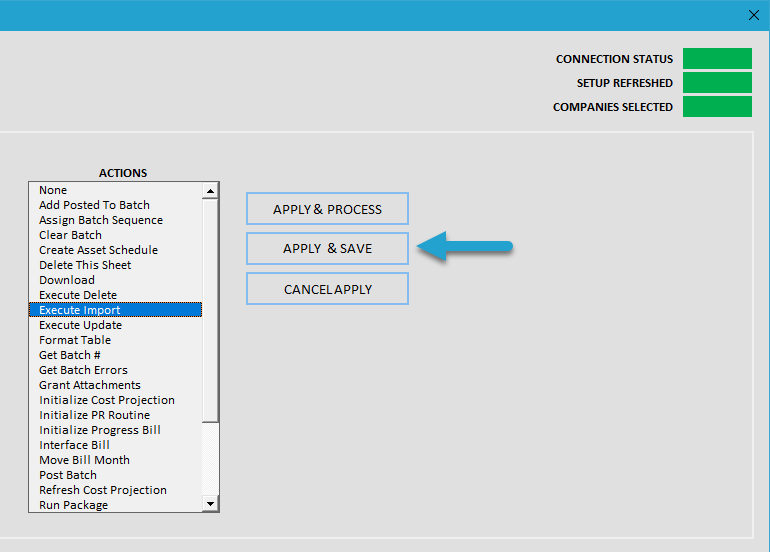
That will save the value to the cell.
At this point, you can copy and paste the Execute Import value to all records, or it is recommended to apply it to 30–40 tables at a time. This allows you to verify the tables are importing successfully without wasting time watching everything try to import at once.
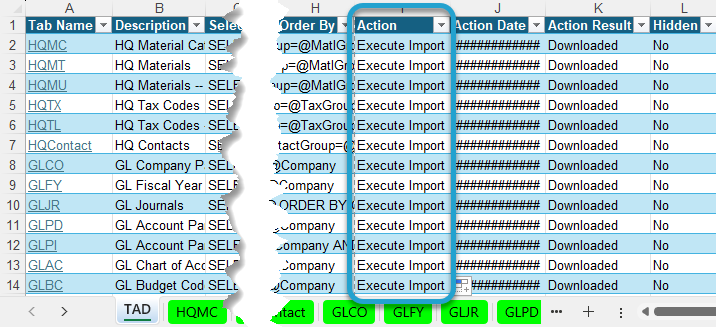
With the records marked as Execute Import, click the submenu of the TAD button on the ribbon and choose the Run Process button.
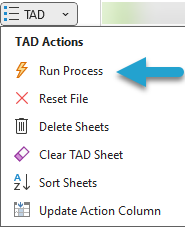
The process will go through each worksheet marked as Execute Import and import the records.
Once the process finishes, the quickest way to check for errors is to look at the worksheet tab colors:
- If all tabs are green, the import completed without errors.
- If you see any red tabs, at least one record in that worksheet had an error during the copy process.
Errors can occur for various reasons, but the most common are listed below:
Orphaned Records
These occur when a sub-table record exists but its main setup record has been deleted.
These are good errors, as you wouldn’t want orphaned data copied into the new company.
Orphaned Field Values
Some fields reference setup values that no longer exist.
Example: The Garnishment Group field on PR Deductions/Liabilities may reference a deleted group.
These are also good errors, as they highlight improper setup that should be corrected before going live.
Initial Sample Company Records
Every Vista database includes preloaded sample data, like the 99999.9999 GL Account.
If your GL account format is different, this sample record will produce an error.
This is expected and desired, since that record is not valid for your actual setup.
You can resolve the errors by going to the worksheet that failed.
- Filter *Column E (Result) for the Failures.
- Review the error message in *Column G (ErrorMsg) to understand why the record failed.
- Either resolve the error or ignore it if the record should not be copied to the Live company.
Repeat Until All Tables are Imported #
Once all errors are resolved, repeat the Import the Records steps until all records on the TAD worksheet have been imported.
You can check Column K (Action Result) to identify the last record marked as Imported, which indicates the last table successfully imported.
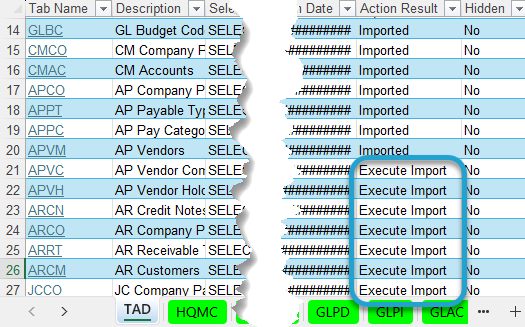
Once all tables have been imported, the copy is complete. You can now review the forms inside Vista to verify that everything looks correct.
