Getting Started #
If you used the Code Format Generator and exported the CSV file then the steps below will help you apply those formats in Vista.
Template Info #
- Required Source Data
- Exported CSV File from Code Format Generator
- Additional Tips
- Make sure to give yourself Allow Download and Allow Update permissions to the vDDDTc (DD Datatype Overrides) table on the TAD Setups – Tables form in Vista.
- Do not run this process if the destination database already has transactional records. Changing the format will break Vista’s ability to select and report on those records.
- Basic Steps
- Download datatype records
- Verify InputMask and InputLength columns pulled values from CSV
- Push updates into Vista
Apply the Format #
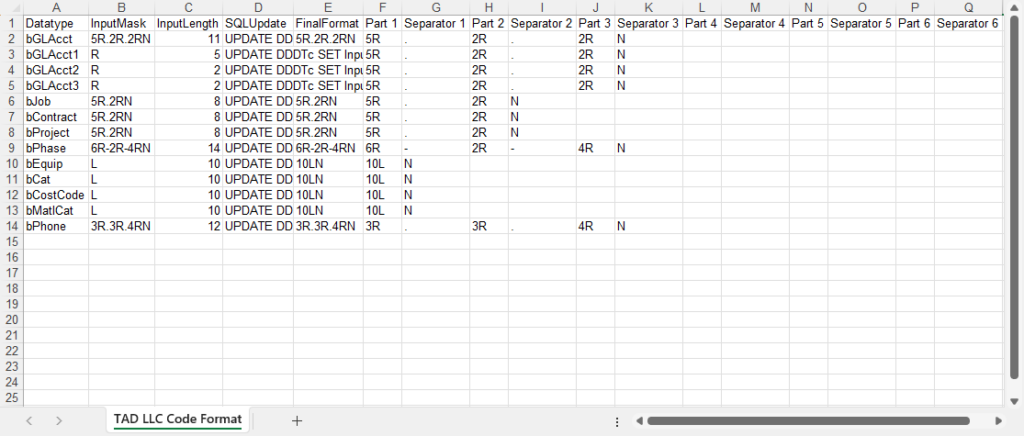
Open your CSV file with Excel and you will see something similar to the below.
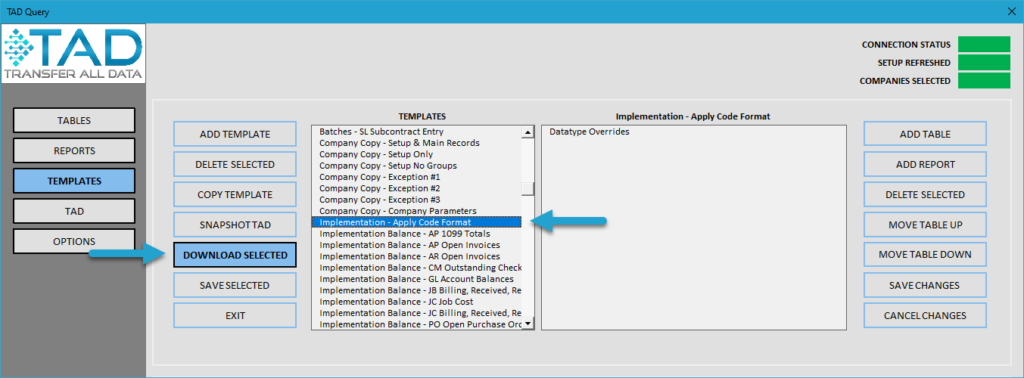
Click the Templates button on the left side of the ribbon.

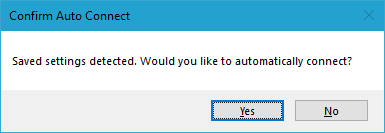
If you’ve signed into TAD before, then you should receive the message below. Click Yes.
If you have not signed into TAD before, follow the Get Connected instructions.
Select the Implementation – Apply Code Format template.
Click the Download Selected button.
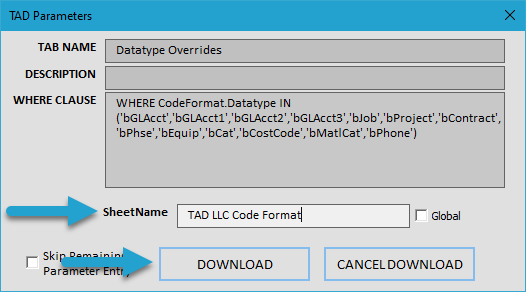
Enter your worksheet name in the SheetName parameter field and click the Download button.
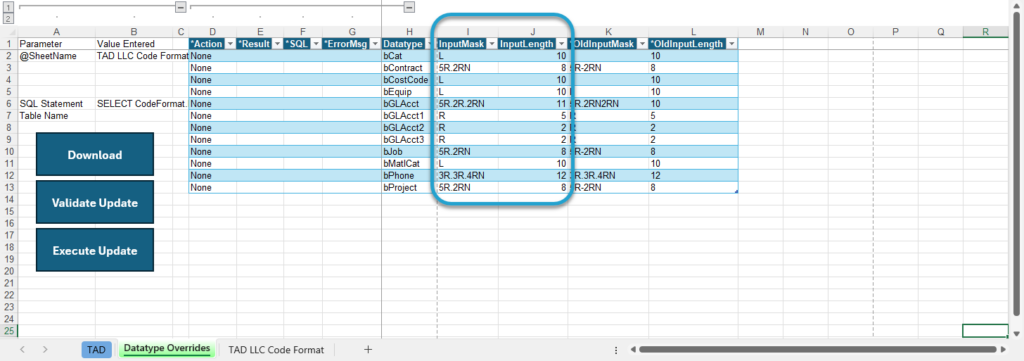
The InputMask and InputLength columns are VLOOKUP formulas that pull values from the CSV data.
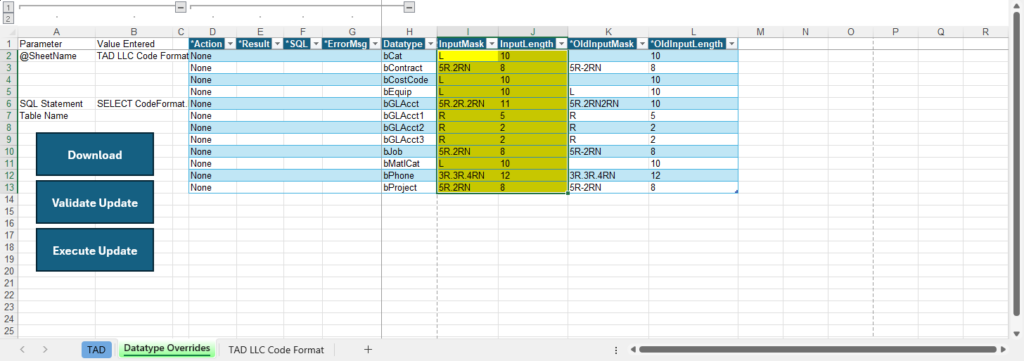
Select all cells in the InputMask and InputLength columns and fill them with yellow. The yellow tells TAD which cells need to be updated.
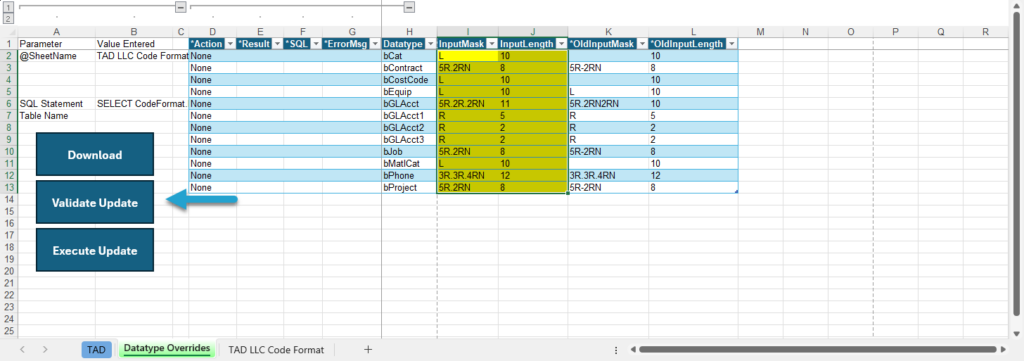
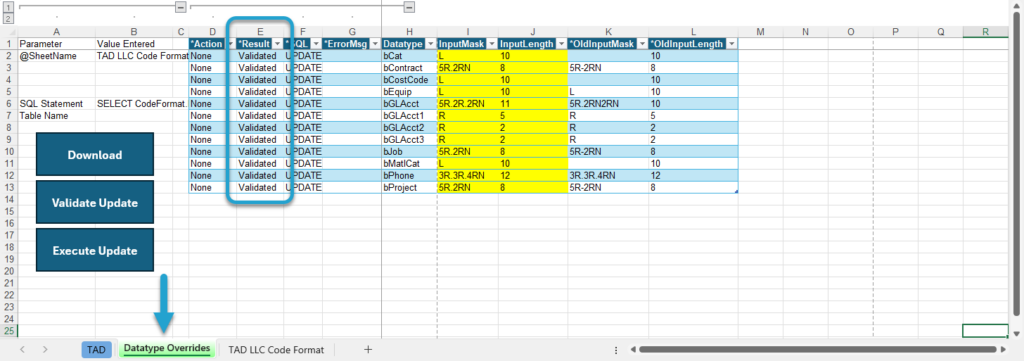
Click the Validate Update button to verify the updates will be successful.
The *Result column will say Validated for all records. The worksheet color will also be green meaning everything validated. Any errors would make the worksheet red.
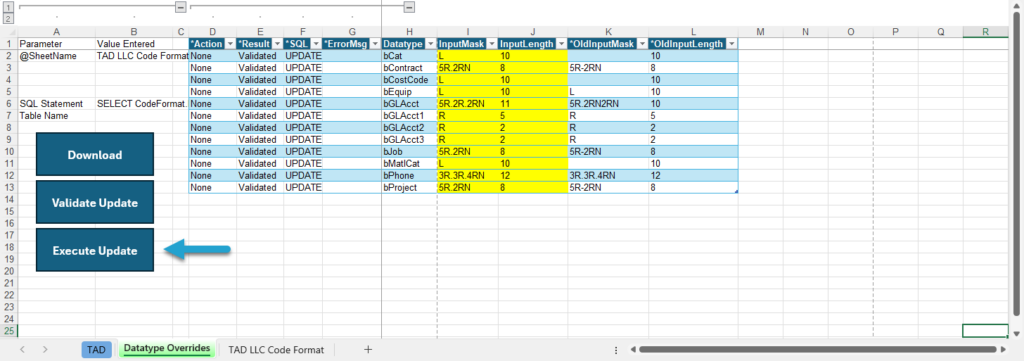
Click the Execute Update button to push those changes into Vista.
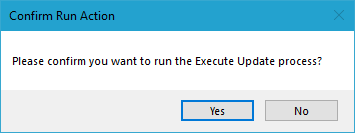
Click the Yes button to confirm the Execute Update process.
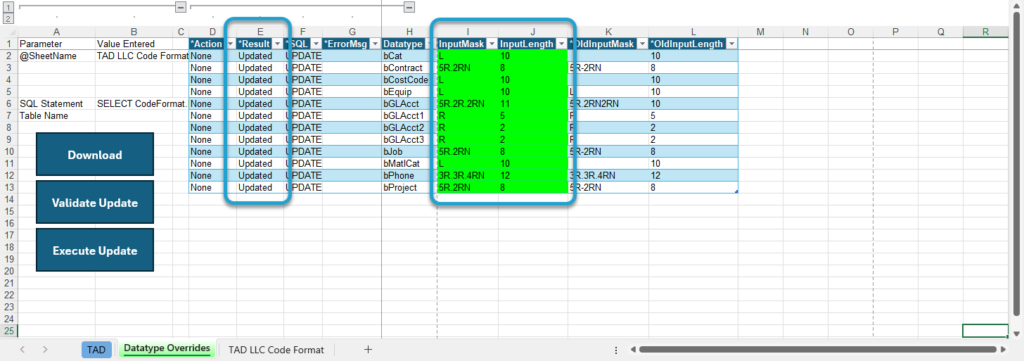
The *Result column will say Updated for all records and the yellow will have turned to green.
The Code Format has now been applied to your Vista environment so you can start configuring the setup!
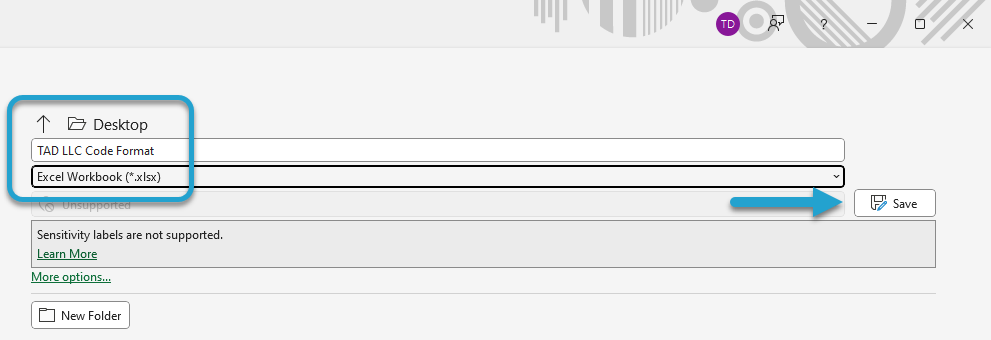
Make sure to File –> Save As and change the file type to Excel Workbook (*.xlsx).
