Getting Started #
If you have existing equipment that should be tracked for depreciation, be sure to add those EM Assets and update the depreciation schedules with the accumulated depreciation.
Template Info #
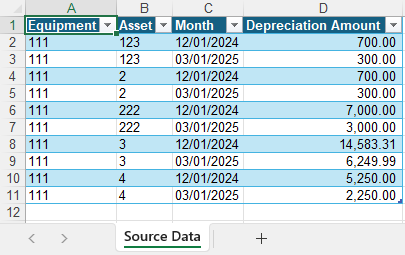
- Required Source Data
- Equipment #
- Asset #
- Month
- Depreciation Amount
- Additional Tips
- If you’re converting mid-year, your source data should include one record for the prior year ending month and one for the month you’re converting. This ensures your YTD and LTD accumulated depreciation is accurate.
- For example, if you’re going live in March 2025, you should have one record for December 2024 and one for March 2025 for each Asset.
- This template assumes you have already imported the EM Equipment and EM Asset Setup records for your fixed assets.
- If you’re converting mid-year, your source data should include one record for the prior year ending month and one for the month you’re converting. This ensures your YTD and LTD accumulated depreciation is accurate.
- Basic Steps
- Download TAD Template
- Initialize Asset Schedules
- Update the Records
- Validate Imported Data
Download TAD Template #
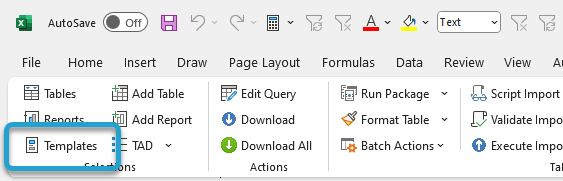
Open your source data file in Excel.
Click the Templates button on the left side of the ribbon.
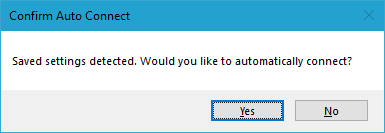
If you’ve signed into TAD before, then you should receive the message below. Click Yes.
If you have not signed into TAD before, follow the Get Connected instructions.
Select the Implementation Balance – EM Asset Depreciation template.
Click the Download Selected button.
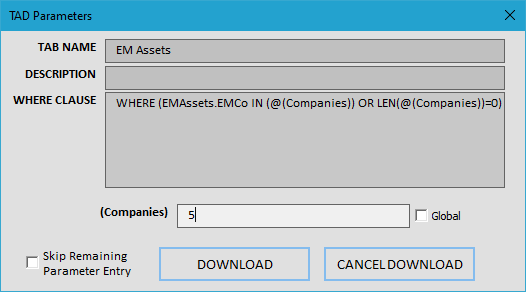
Verify your Company number and click the Download button.
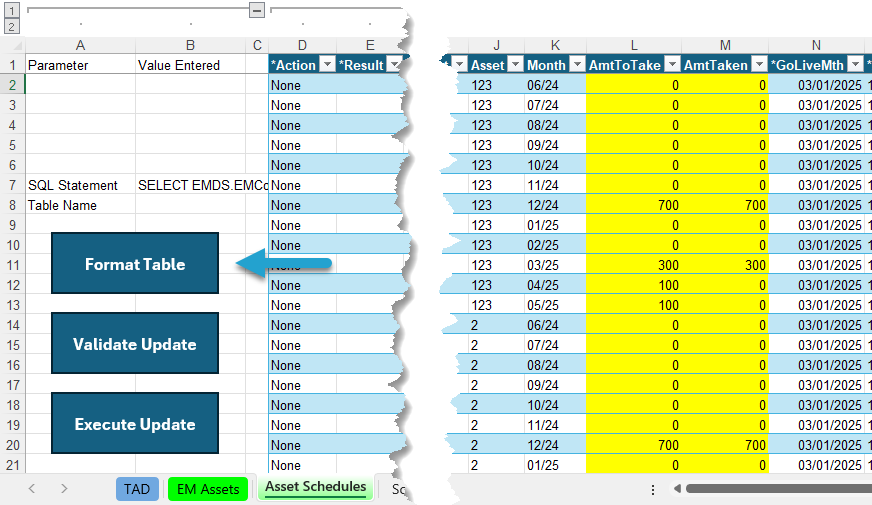
The EM Assets sheet is used to initialize the asset schedules.
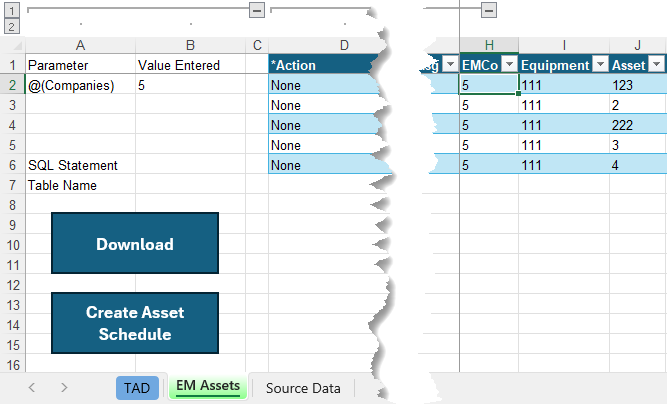
Initialize Asset Schedules #
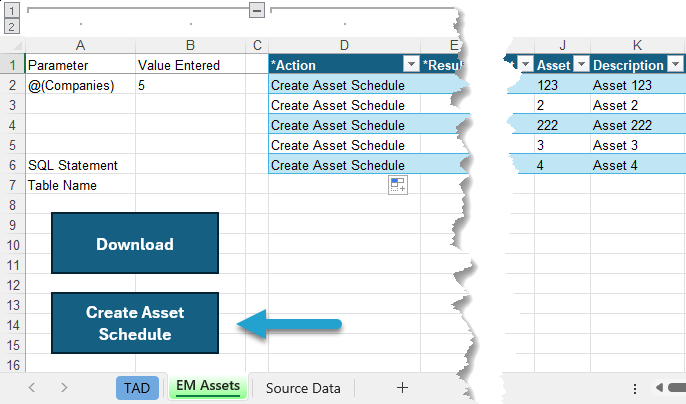
For each asset with depreciation, change Column D (Action) to Create Asset Schedule.
Click the Create Asset Schedule button to generate an asset schedule for every Asset and download the generated schedules.
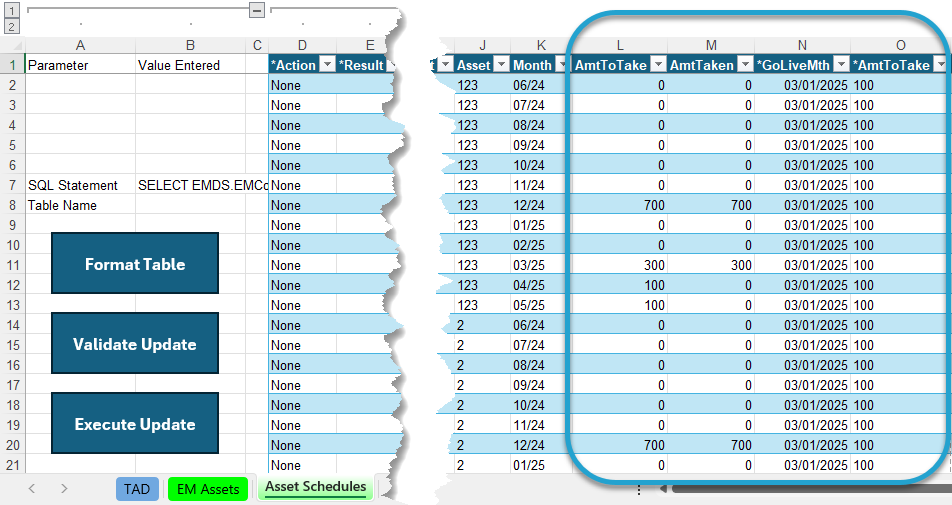
The GoLiveMth column defaults to the current month. Update this value if you’re loading balances as of the prior month.
The AmtToTake (Column L) and AmtTaken (Column M) columns contain formulas that summarize values from your Source Data. These formulas reference Table1, so if you don’t see results, verify that your data is stored in Table1 within the workbook.
These formulas work as follows:
- If the Source Data sheet lists a value for the Month column, the amount will appear in both the AmtToTake and AmtTaken columns.
Example: Rows 8 and 11 in the image below. - If the Month value is greater than the GoLiveMth, the amount will appear in the AmtToTake column as it represents future depreciation.
Example: Rows 12 and 13 in the image below. - All other rows will display a value of $0, as they will not have any depreciation expense.
Example: Rows 2–7 and 9–10.
Update the Records #
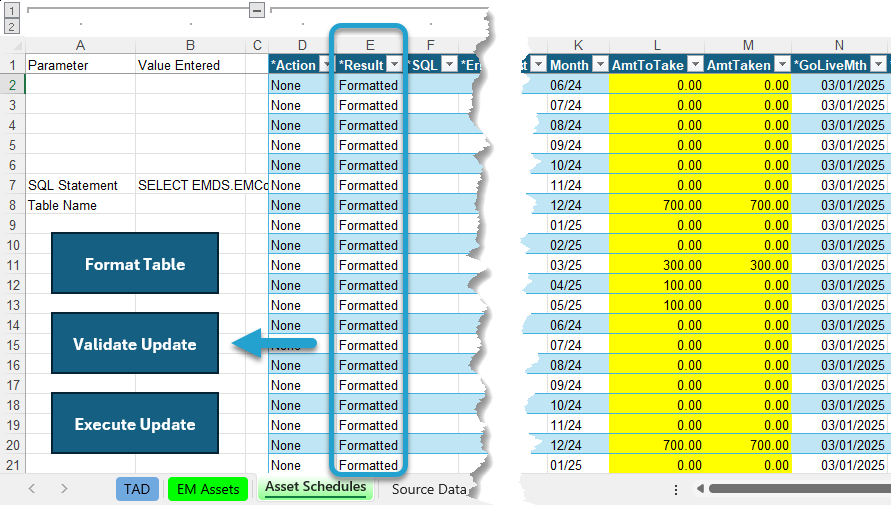
Highlight all cells in the AmtToTake and AmtTaken columns and fill them with yellow. The yellow indicates to TAD which cells need to be updated in the table.
Click the Format Table button to format the data and lock in the values from those formulas.
The *Result column will show Formatted for every record. You will see the AmtToTake and AmtTaken columns now have hard coded values.
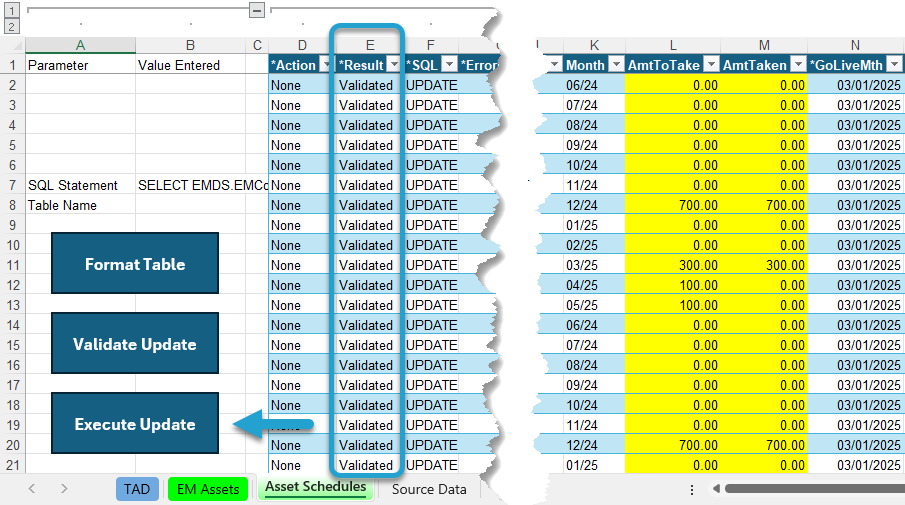
Click the Validate Update button.
The *Result column will show Validated for every record. If this says Failure, then the *ErrorMsg column will provide the error.
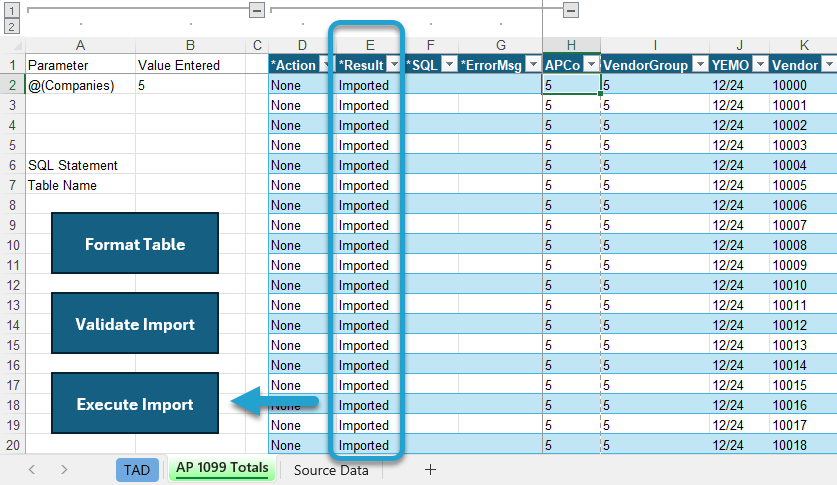
Click the Execute Update button.
The *Result column will show Updated for every record and the yellow will be changed to green. You can now validate the data in Vista.
Validate Imported Data #
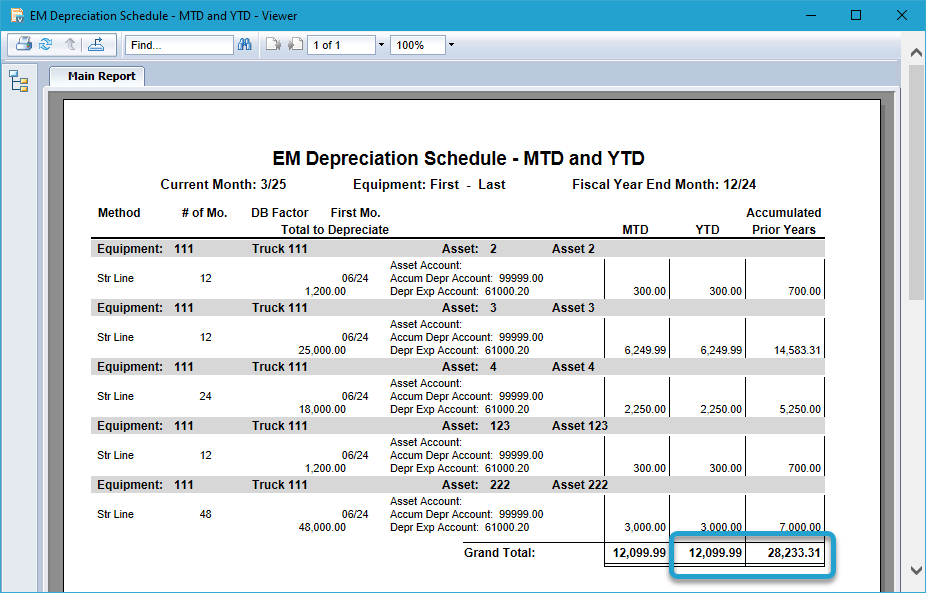
You can validate the Accumulated Depreciation by running the EM Depreciation Schedule – MTD and YTD report in Vista.
Enter your Company, the Current Month and the Prior Fiscal Year End Month that you just imported.
Make all other parameters look like the image below.
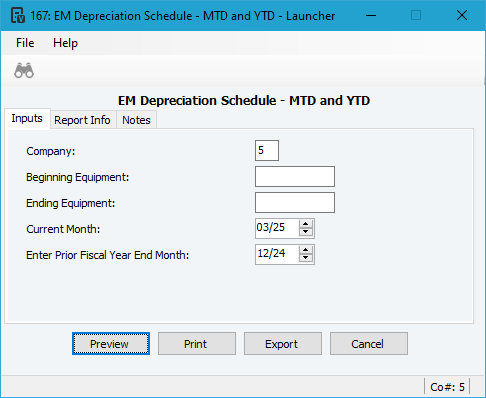
Verify the YTD and Accumulated Prior Years totals at the end of the report matches the amounts that you imported.