Getting Started #
If you need to reflect job cost balances incurred before go-live, import these records to ensure each job starts with the correct cost-to-date values.
Template Info #
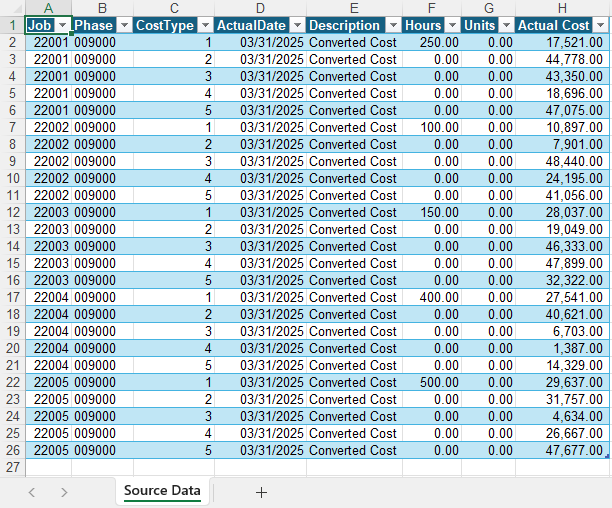
- Required Source Data
- Job #
- Phase #
- Cost Type #
- Actual Date
- Description
- Actual Cost
- Optional Source Data
- Actual Hours
- Actual Units
- Additional Tips
- The example shows importing summary balances by Job / Phase / Cost Type, but you can also import full Job Cost detail using the same method. The only difference is the number of records—the required values and import steps remain the same.
- The Hours column can be used with your Labor and/or Equipment cost types where hour tracking is needed.
- Basic Steps
- Download TAD Template
- Copy the Source Data
- Import the Records
- Post Open Batch
- Validate Imported Data
Download TAD Template #
Open your source data file in Excel.
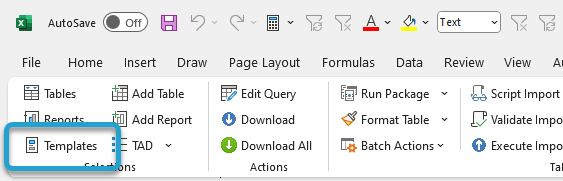
Click the Templates button on the left side of the ribbon.
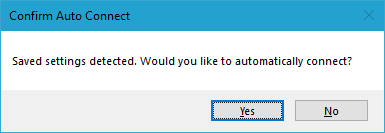
If you’ve signed into TAD before, then you should receive the message below. Click Yes.
If you have not signed into TAD before, follow the Get Connected instructions.
Select the Implementation Balance – JC Job Cost template.
Click the Download Selected button.

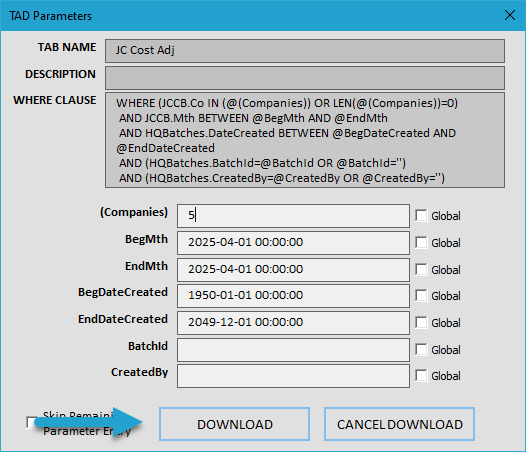
Verify your Company number and click the Download button.
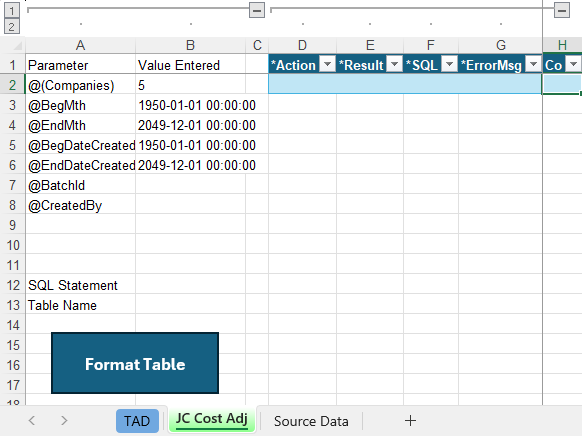
The JC Cost Adj sheet is used to import the job cost.
Copy the Source Data #
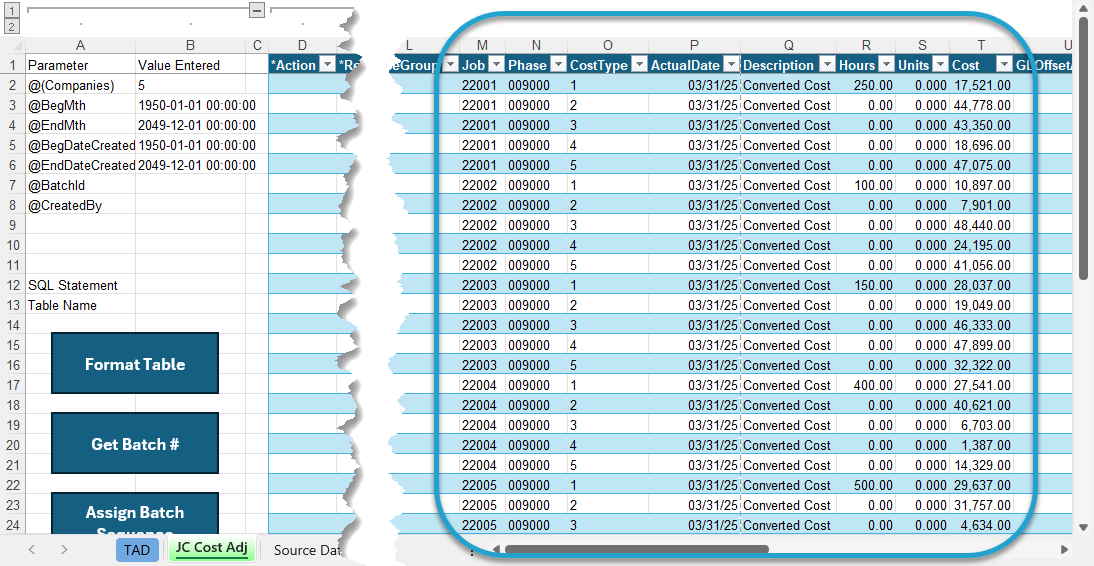
Copy and paste the source data into the JC Cost Adj sheet. If your source data layout matches the example above, this will be a single copy and paste since the JC Cost Adj columns are already in the same order.
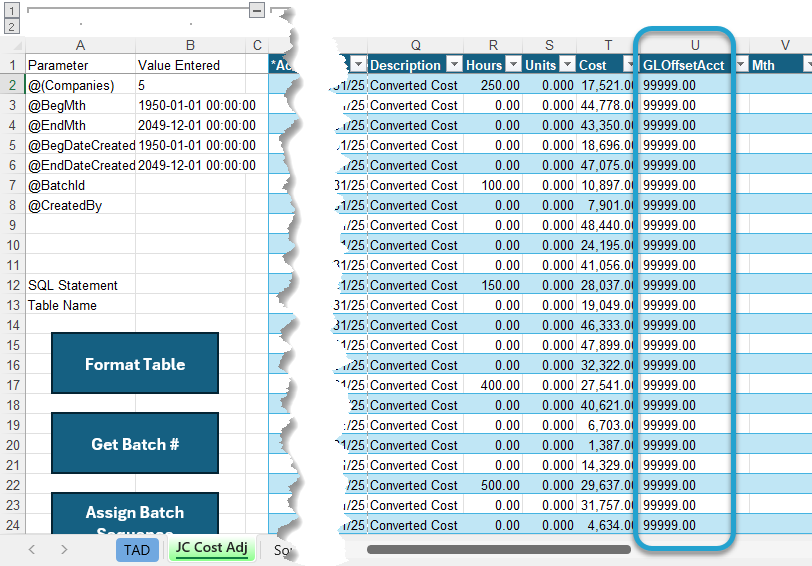
Enter your Suspense or Clearing GL Account in the GLOffsetAcct column.
Import the Records #
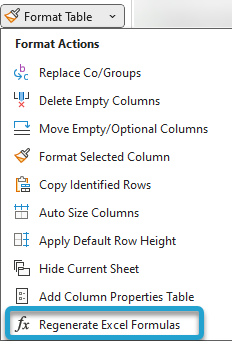
Click the submenu of the Format Table button on the ribbon and choose the Regenerate Excel Formulas button. This will apply formulas to multiple columns.
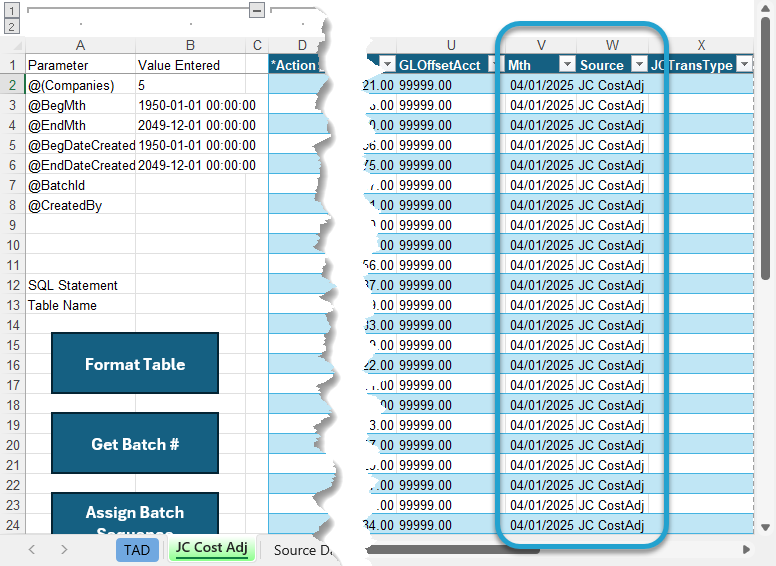
The Mth column defaults to the current month. Update this value if you’re loading balances as of the prior month.
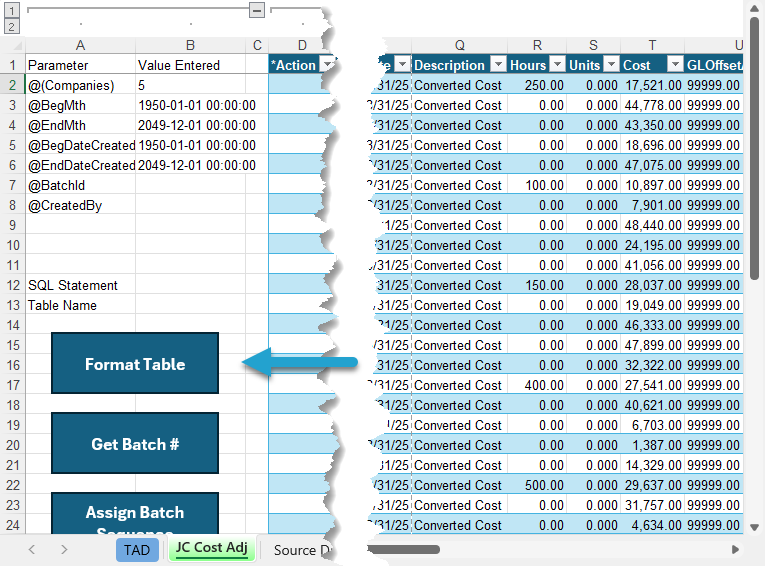
Click the Format Table button to format the data you copied and to apply missing default values.
This will also apply the UM (Unit of Measure) based on the Job / Phase / Cost Type setup in Vista, and the GLTransAcct based on the JC Department setup in Vista.
The *Result column will show Formatted for every record. You will see the default Company number applied.
Click the Get Batch # button to assign the next batch number.
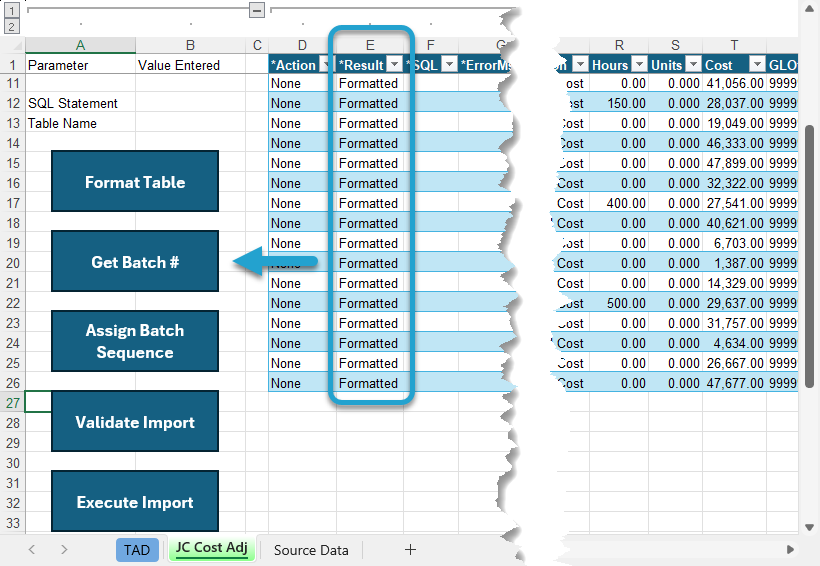
The *Result column will show Batch #XX Assigned for every record.
Click the Assign Batch Sequence button to assign a sequential value to each record.
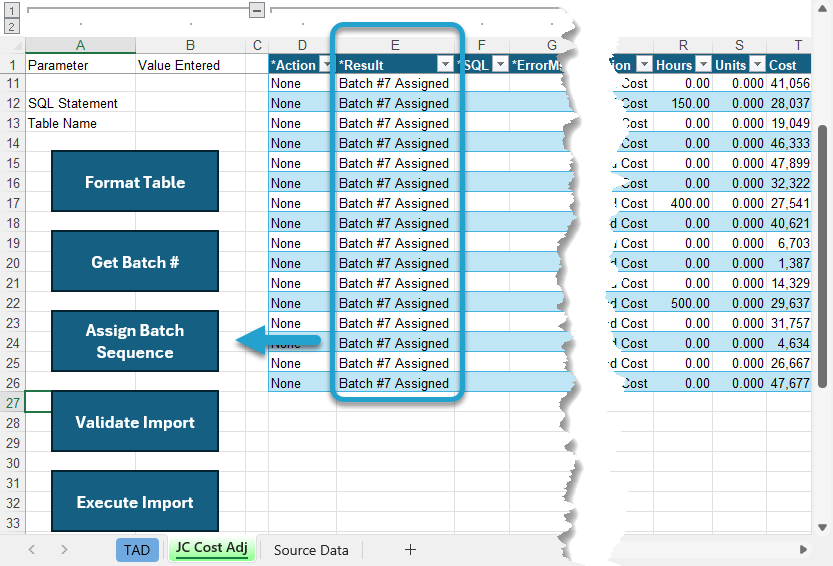
The *Result column will show Batch Sequence Assigned for every record.
Click the Validate Import button.
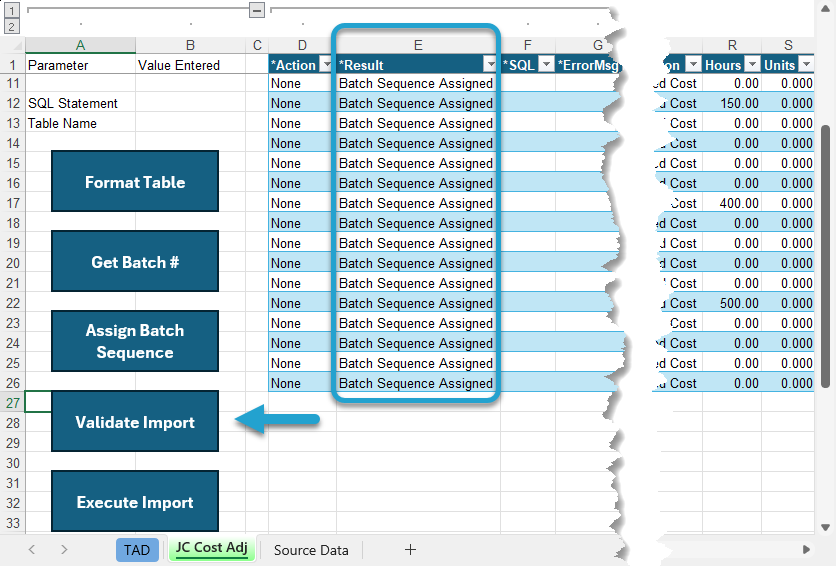
The *Result column will show Validated for every record. If this says Failure, then the *ErrorMsg column will provide the error.
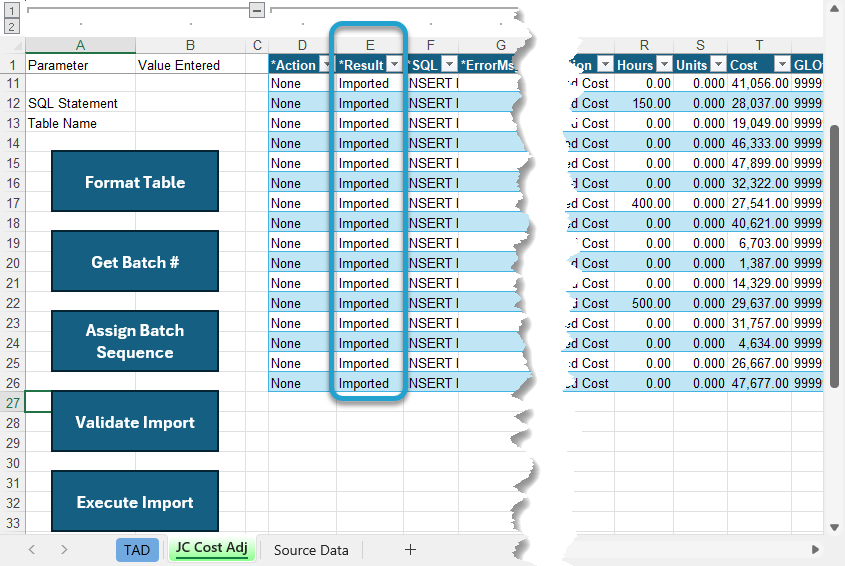
Click the Execute Import button.

The *Result column will show Imported for every record.
That completes all steps needed in TAD. You can now open the batch in Vista to validate and post.
Post Open Batch #
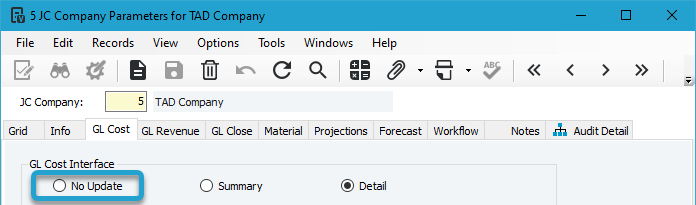
Before opening the JC Cost Adjustments batch, you need to turn off Interfacing to the General Ledger. This prevents the batch from posting GL activity, which we do not want when loading these balances.
In Vista, go to Job Cost → Programs → JC Company Parameters.
On the GL Cost tab, write down your existing value for the GL Cost Interface. Then select No Update, click Save and minimize the form.
Now you can open the batch in JC Cost Adjustments.
With the batch open, go to File → Process Batch, then click the Validate button followed by the Post button.
Once the batch posts, make sure to change your Interface Levels back to their normal values.
Validate Imported Data #
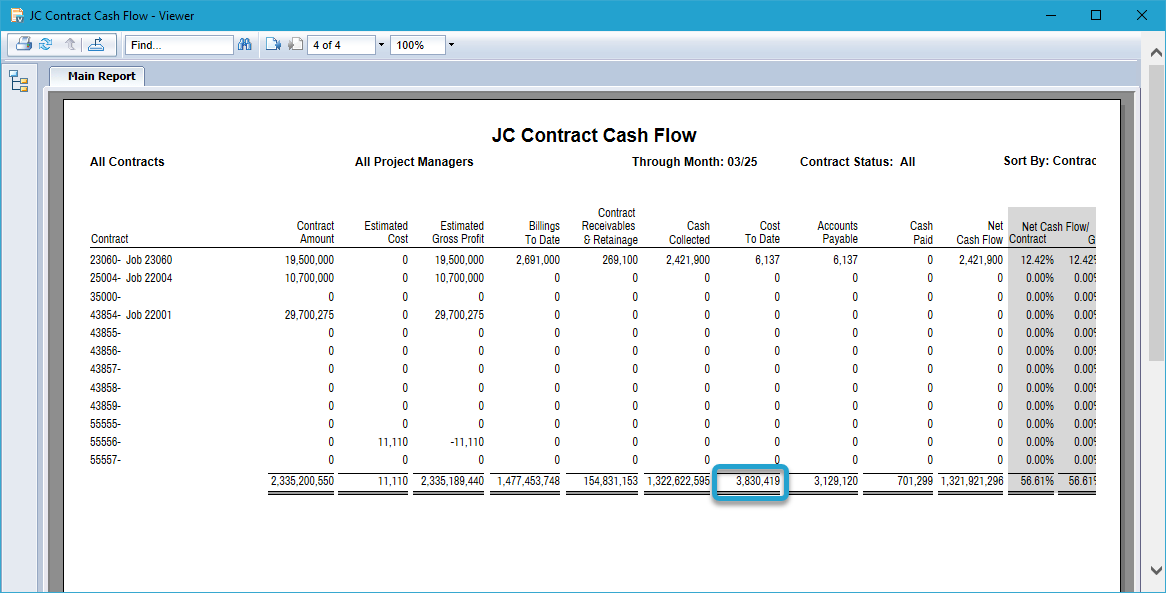
You can validate the Job Cost by running the JC Contract Cash Flow report in Vista.
Enter your Company and the Through Month for the month that you just imported.
Make all other parameters look like the image below.
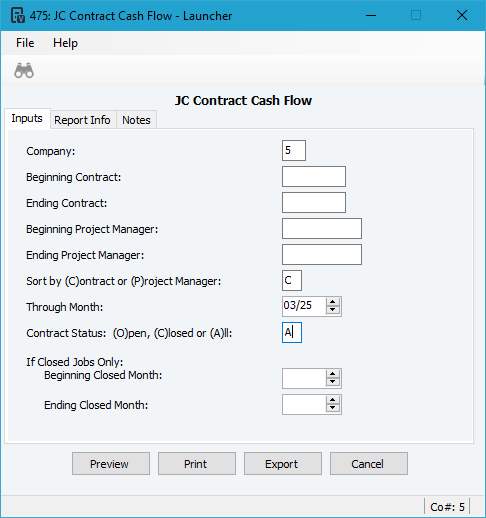
Verify the Cost To Date total at the end of the report matches the transactions that you imported.