Getting Started #
Sometimes, replacing the Excel Add-in does not fully remove the old version. If Excel keeps loading the old Add-in, follow the steps below to remove all TAD instances for a fresh start.
Remove the Excel Add-in #
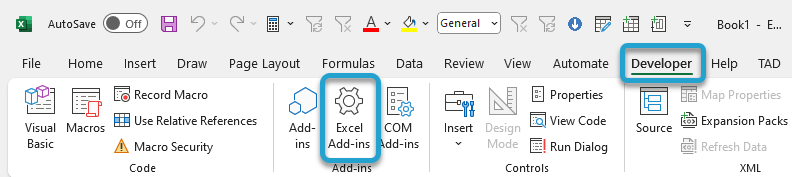
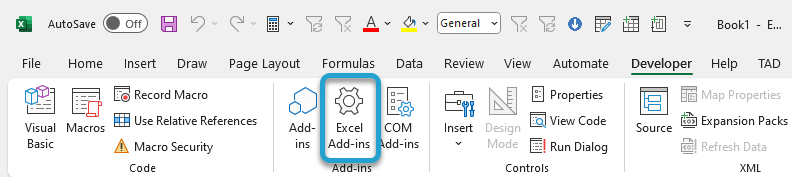
Select the Developer ribbon and click the Excel Add-ins button.
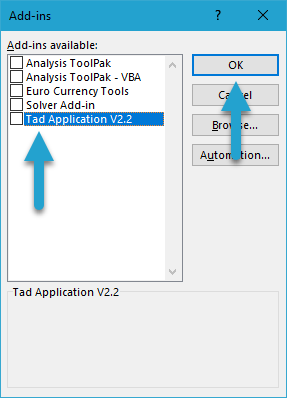
Uncheck the TAD Application option.
Click the OK button to deactivate the add-in.
You can now either delete or rename the Add-in file to break the link with Excel.
If you are unsure where the file is located, follow the Where is My Add-in Located steps below.
If renaming the file does not break the link, you will need to delete the add-in instead.
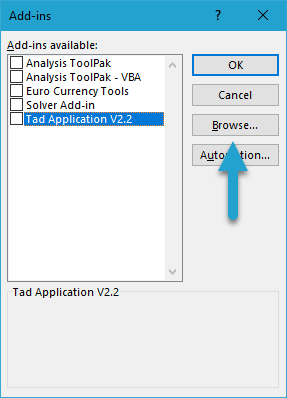
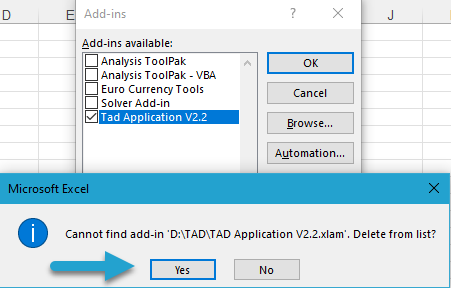
Click the Excel Add-ins button again.
Check the TAD Application option.
You will receive a message stating that Excel cannot find the Add-in file.
Click the Yes button to remove it from the list.
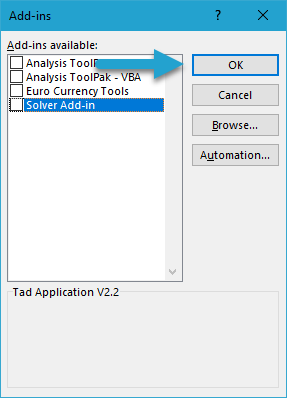
Click the OK button to close the window.
Close all Excel workbooks and open a new blank workbook.
Select the Developer ribbon and click the Excel Add-ins button.

If you do not see the TAD Application option, then all instances have been successfully removed.
If the TAD Application option still appears, repeat the steps above until it no longer shows.
Where is my Add-in Located? #
To find where your existing Excel Add-in is located, follow the steps below.
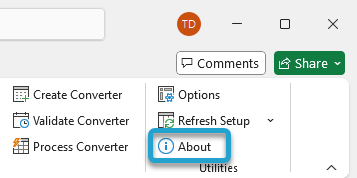
Click the About button on the right side of the TAD ribbon.
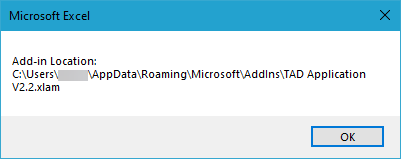
Click the Add-in Location link at the bottom.

You will receive a message displaying the current location of the Excel Add-in.
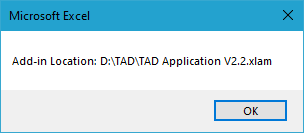
If your message references \AppData\Roaming\Microsoft\Addins, it means you have a local copy stored in the default Excel Add-ins folder. This path can be accessed directly through Excel.
Skip to the Replace Local Copy steps below.
Otherwise, continue to the Replace the Excel Add-in File steps below.