Getting Started #
The Update action allows you to modify existing records in the database efficiently. This feature is especially useful for making bulk updates to common setups, applying default values to new custom fields, and handling regulatory updates.
Common Use Cases
- Company-wide setup updates – Modify shared configurations across multiple companies on the same worksheet.
- New custom fields – When new custom fields are added, they often have no values for existing records. Use the update action to apply a default value or manually update each record.
- PR 1095 Reporting – Ensure employee records are accurate for ACA compliance.
- PR Craft/Class Rate Updates – Adjust pay rates for different crafts and classes.
- PR Deduction/Liability Rate Updates – Update payroll deduction and liability rates.
- PO Compliance/SL Compliance Expiration Dates – Maintain compliance by updating expiration dates for purchase orders and subcontractor licenses.
Summary Steps #
- Downloading Records for Updates – Download the current records from Vista that you need to update for reference.
- Updating the Records – Modify the records in the table with the new data, ensuring the changes are accurate.
- Formatting the Table – Format the updated table to align with the required structure for the update process.
- Validating the Update – Validate the updated records to ensure they meet the necessary criteria and are error-free.
- Executing the Update – Run the update process to apply the changes to the records in the system.
Update Records #
Downloading Records for Updates
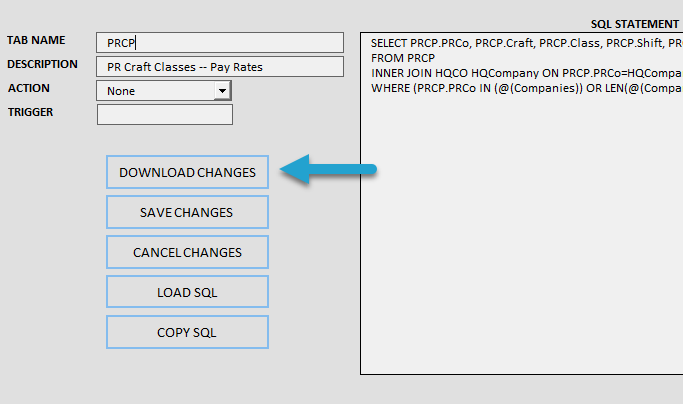
The first step is to download the records you want to update. This example walks through updating craft class pay rates.
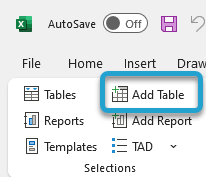
Click Add Table on the left side of the ribbon to begin.
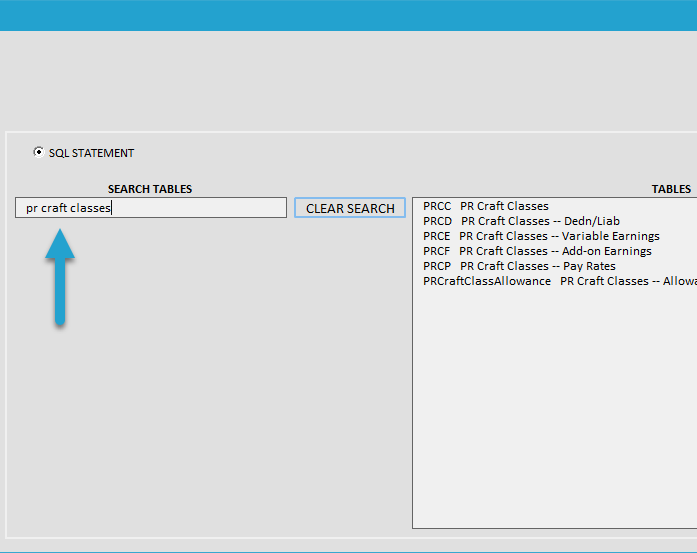
Search for the table that contains the records you want to update. In most cases, the Vista form name matches the table name, making it easier to locate.
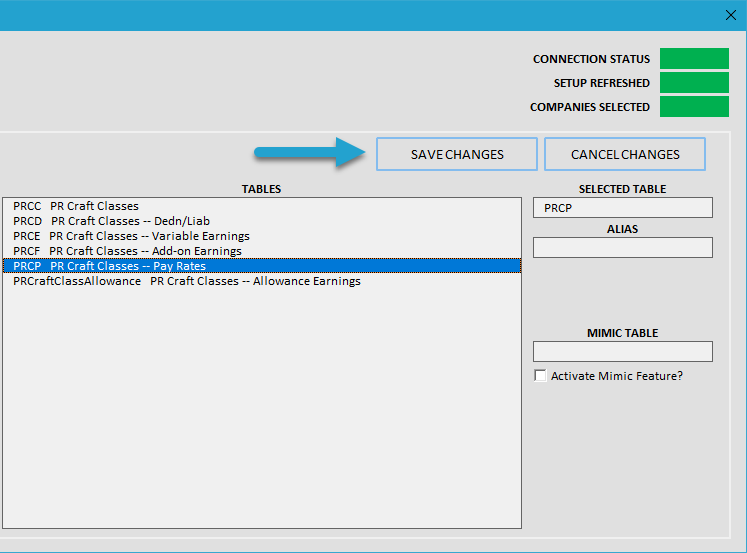
Either double-click on the table to select it or highlight the table and click the Save Changes button to confirm your selection.
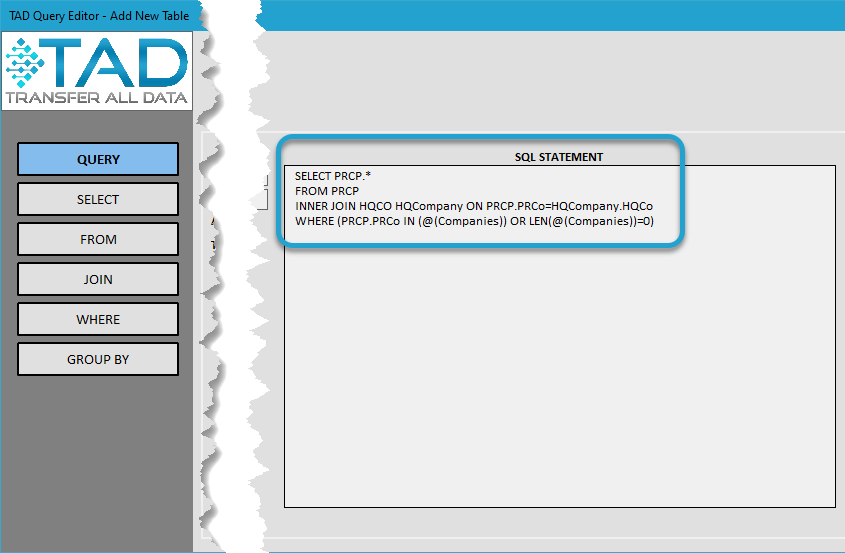
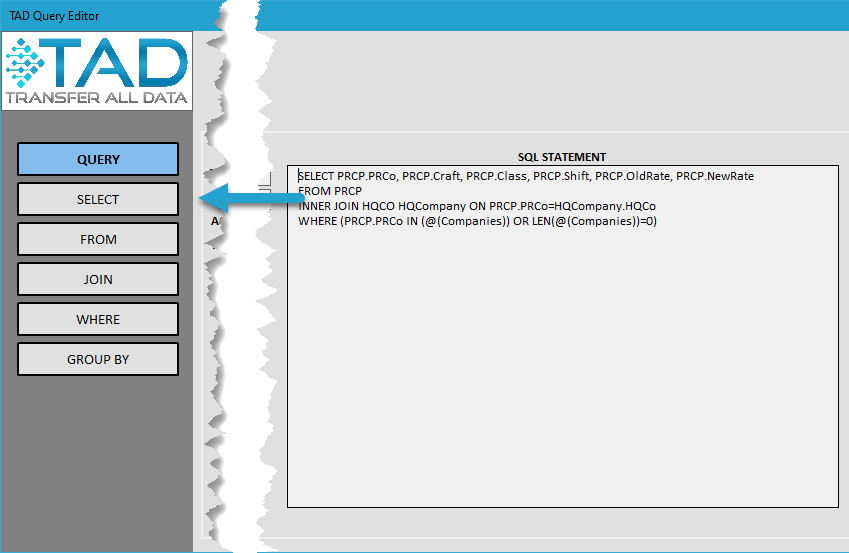
The base SQL statement retrieves all records and columns from the selected table. You can either proceed with the full dataset or refine your results using the Select, Join, and Where buttons on the left side.
The most common adjustment is adding filters with the Where button. This allows you to narrow the data to a specific Month, Contract, Job, Craft, Employee, or User, ensuring you only update the necessary records.
⚠ Important: If you intend to adjust the columns in the table, do not remove the KeyID column. The KeyID is the unique identifier for each record and is required for the update process.
If your table does not have the KeyID column, follow the steps at the bottom of this article to add it back.
Click Download Changes to retrieve the records from the selected table.
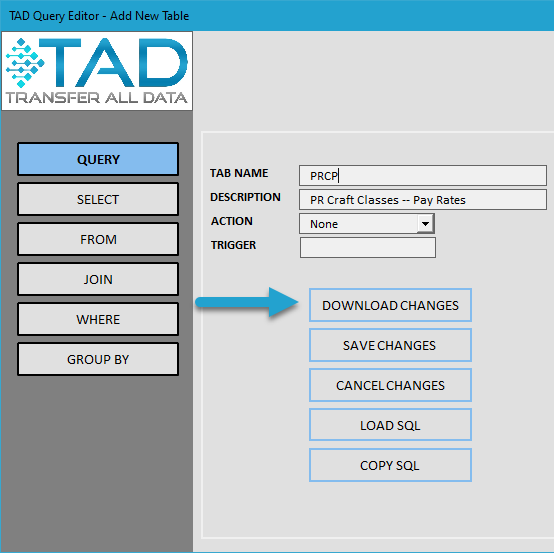
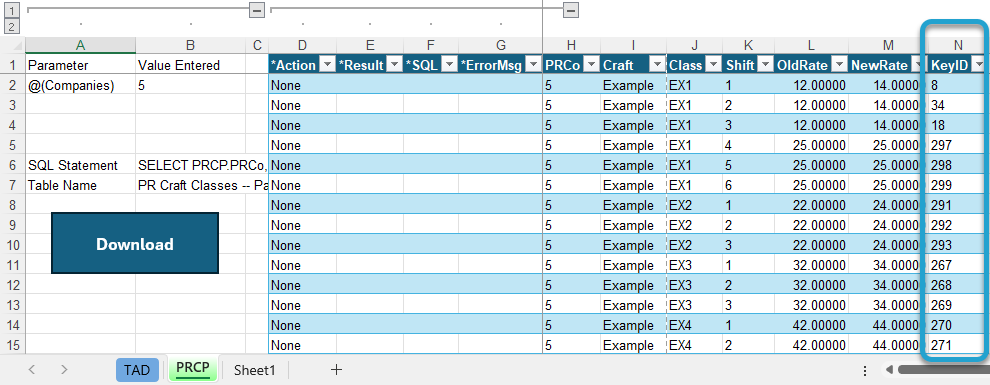
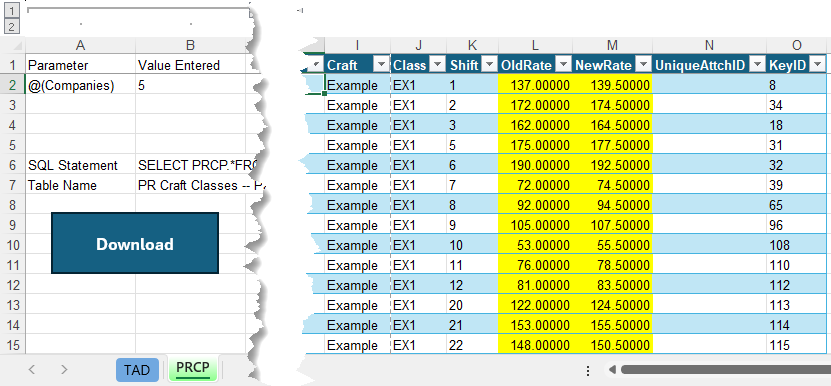
You will see a table with records based on what you downloaded.

Updating the Records
Update the cells with the new values, ensuring that any modified cells are filled in yellow to indicate changes.
While in most cells, you can also press F4 to bring up the TAD Lookup form, which helps you quickly search for and select valid values for the field you are updating. This can reduce errors and improve efficiency when making updates.
Formatting the Table
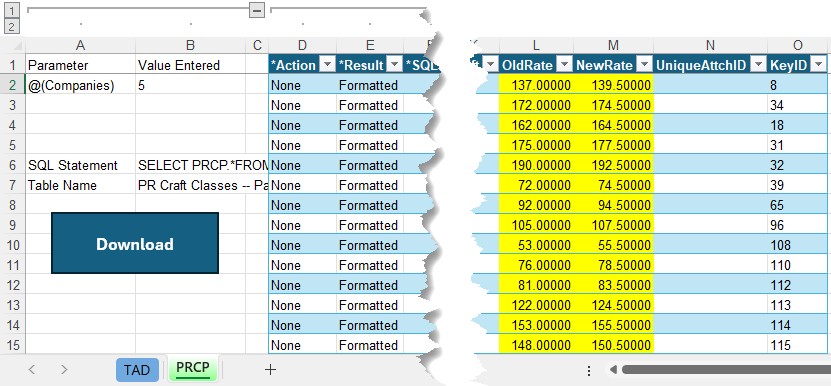
With your changes made, click Format Table on the ribbon. This will properly format the updated cells and ensure they align with system requirements.

After clicking Format Table, you will see Formatted in the *Result column.
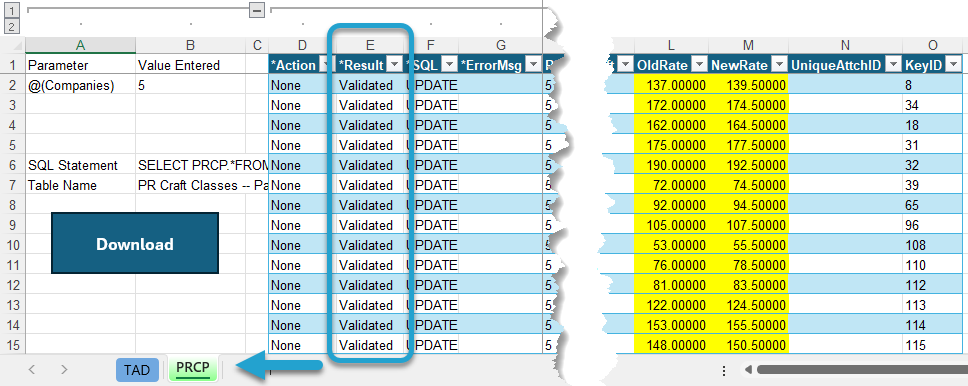
Validating the Update
Click the Validate Update button on the ribbon.

After clicking Validate Update, check the following:
- The *Result column should display Validated for every record marked for update.
- The worksheet color should change to Green, indicating successful validation.
- If the *Result column shows Failure, refer to the *ErrorMsg column for details on the issue.
- If the *Result column shows Validation Error, go to the TAD worksheet and look at the Action Result (Column K) to see what error exists across the entire table.
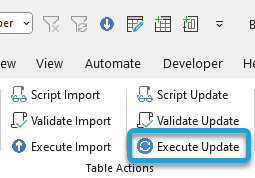
Executing the Updates
With everything validated, click Execute Update to apply the changes to the database.
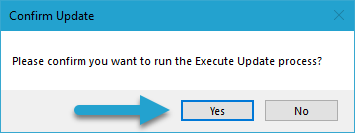
Click the Yes button to confirm the Update.
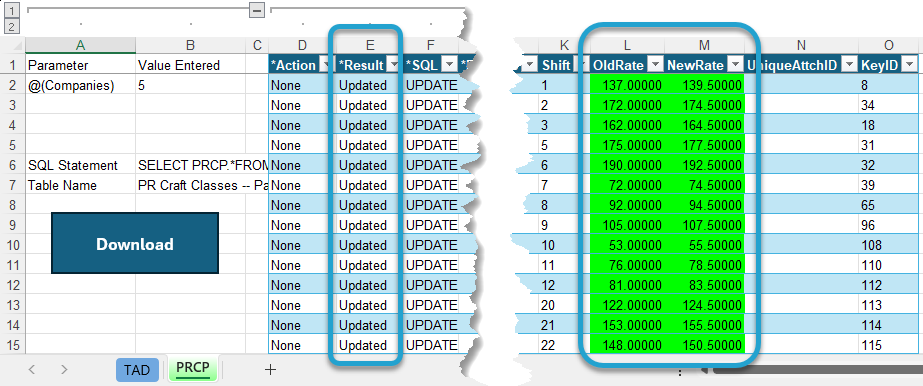
Once the process finishes:
- You will see Updated in the *Result column for the records that had changes.
- The previously yellow cells will turn Green, indicating successful updates.
- You can click Download again to refresh the table and verify the updated values.
Update Columns (KeyID) #
Most tables in Vista include a KeyID column, which serves as the unique identifier for each record. This column is required for the UPDATE process to function correctly.
To find the Update Columns for a specific table, refer to the Table List article.
If your table is missing the Update Columns, follow the steps below to restore them.
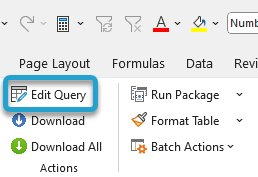
Click the Edit Query button on the left side of the ribbon.
Go to the Select section on the left side.
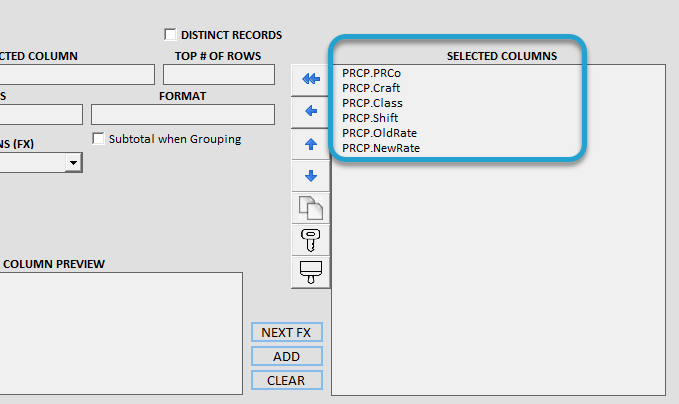
You will notice that the KeyID column is missing from the Selected Columns list.
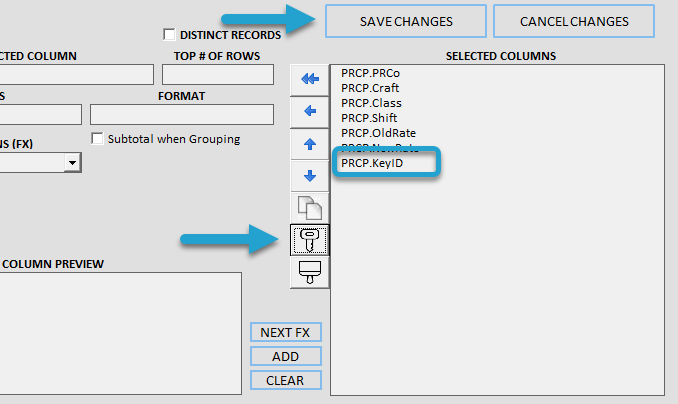
Click the Key button to add the Update Columns for the table. The KeyID column will be the default for 60% of available tables. For Batch tables, the default columns will be Co, Mth, BatchId, and BatchSeq.
Click the Save Changes button.
Click the Download Changes button to reload the table with the newly added columns.
You will now see the newly added columns in your table.